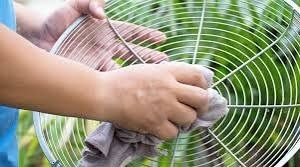
Household fans play a crucial role in maintaining comfortable temperatures and air circulation, particularly during warmer seasons or in enclosed spaces. However, they often accumulate dust on their blades, grilles, and motor housing over time. This not only impacts the fan’s efficiency, but can also reduce indoor air quality by redistributing dust each time the fan is in use. Understanding how to clean your fan properly ensures a healthier environment and prolongs the lifespan of the appliance.
Why Dust Build-Up Matters
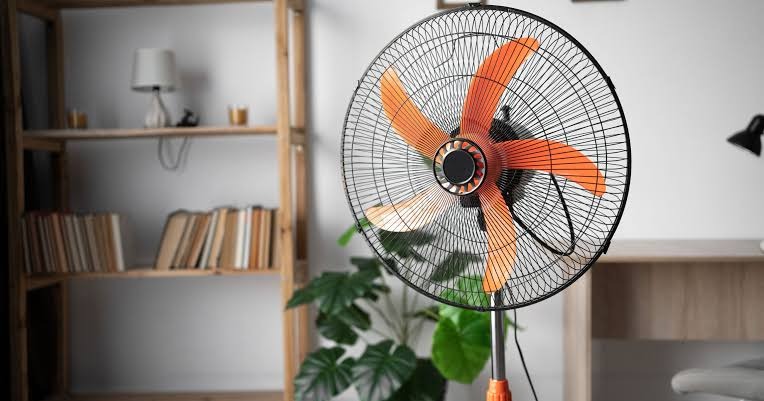
Dust on fans does more than just affect the appearance of your device. When a fan operates, dust particles that have settled on the blades, grille, and hinges can be blown back into the air. This is especially problematic for individuals with allergies, asthma, or other respiratory concerns. Excess dust can also impede motor function, leading to increased wear and potentially shortening the fan’s usable life. Regular and careful cleaning addresses these concerns and helps maintain optimal performance.
Before You Begin: Safety First
Safety is paramount when performing any appliance maintenance. Before cleaning your fan, always:
- Turn off the fan using the control buttons or switch.
- Unplug the device from the electrical outlet to prevent accidental activation or electric shock.
- If your fan’s motor feels warm, wait until it has cooled completely before starting the cleaning process.
- Relocate the fan to an easy-to-clean area, such as a tiled floor, or place a large towel or drop cloth beneath it to catch any falling dust and debris.
Never attempt to clean a fan while it is still connected to power. Avoid using harsh cleaning agents or water near the motor and other sensitive electrical components.
Essential Tools and Supplies
Gathering the right tools in advance streamlines the cleaning process and protects the fan’s finish. The following items are recommended for safe and thorough fan cleaning:
- Vacuum cleaner with a soft brush attachment
- Soft paintbrush or small cleaning brush
- Microfiber cloths (dry and slightly damp)
- Pillowcase (for blade cleaning)
- Optional: gentle, diluted dish soap (for stubborn dirt), cotton swabs (for detailed areas)
Step-By-Step Guide to Cleaning a Fan
1. Vacuum the Grille and Outer Surfaces
Start by using your vacuum cleaner with the soft brush attachment to gently remove surface dust from the fan’s front and rear grilles. Move slowly and pay extra attention to corners, edges, and any crevices where dust tends to accumulate. Proper technique helps prevent loosened dust from scattering around the room.
2. Tackle Stubborn Dust with a Paintbrush
For areas where dust is caked on or difficult to reach, use a soft paintbrush or cleaning brush. Hold the vacuum nozzle nearby as you gently scrub problem zones to lift built-up debris. The vacuum will immediately collect any loosened dust, preventing it from becoming airborne. This method is cleaner and more effective than only using a dry brush or cloth.
3. Clean Fan Blades Safely
If your fan’s blades are accessible, carefully wipe each one using a dry microfiber cloth. With the device unplugged, rotate the blades gently by hand if the design allows it. Avoid forcing your hand or tools through small grille openings to prevent accidental injury or damaging the protective cover. For enhanced dust control, slip a pillowcase over each blade one at a time and wipe; this helps contain dust within the fabric.
4. Clean the Base, Controls, and Cord
Wipe down the base, controls, stand, and power cord using a separate dry or very slightly damp microfiber cloth. These parts often accumulate dust and fingerprints, especially if the fan is located near the floor or handled frequently.
5. Handle Moisture with Care
Never spray cleaning liquids directly onto the fan. If stubborn dirt requires moisture, lightly dampen your microfiber cloth with water or a diluted gentle soap solution. Carefully clean the desired area, keeping all moisture away from the motor and electrical sections. After cleaning, allow the fan to air dry completely before plugging it back in and turning it on again.
Cleaning Frequency and Best Practices
Regular cleaning is key to maintaining your fan’s performance and your indoor air quality. As a rule of thumb:
- Clean your fan every few weeks during periods of regular use, or when you visibly notice dust accumulation.
- In households with pets, open windows, or heavy dust, more frequent cleaning may be necessary.
- Perform a light cleaning between deeper sessions by using a handheld vacuum or microfiber duster.
Proactive maintenance prevents dust from reaching the motor and keeps the device looking tidy, reducing the likelihood of stubborn buildup that requires extra effort to remove later.
How to Clean Different Types of Fans
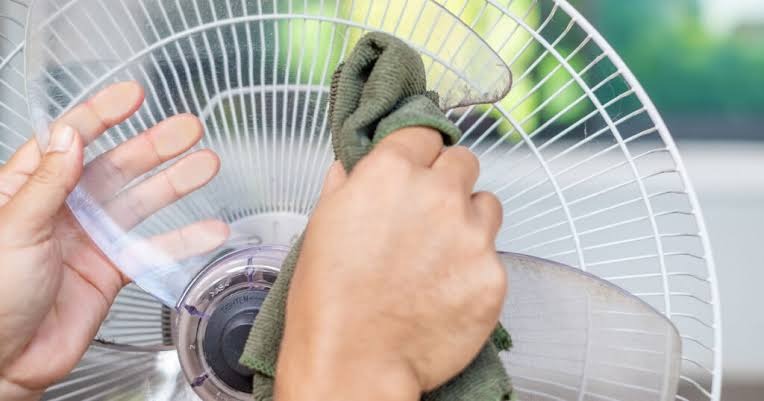
Table Fans
Table fans are often light and may feature easily removable grilles for straightforward cleaning. Check the manufacturer’s instructions before removing any parts. Clean as outlined above, and if the blades can be detached, wash them with mild soap and water, making sure they are entirely dry before reassembling the fan.
Tower Fans
Tower fans have a slim, vertical build and may trap more dust inside due to their design. Many models have removable rear grilles or access panels. Use a vacuum with a crevice tool to reach deep inside, and finish with a slightly damp cloth for surface cleaning.
Ceiling Fans
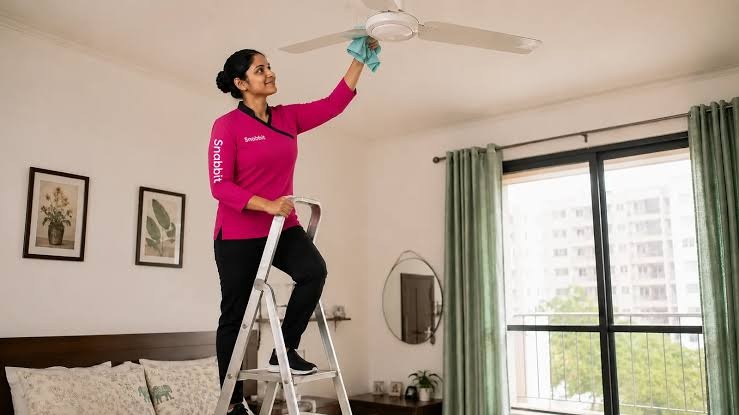
For ceiling fans, first ensure the power is off from the circuit breaker. Use a sturdy ladder and a pillowcase to enclose each blade; gently pull the pillowcase across to trap dust inside. Follow up with a clean microfiber cloth to remove any remaining particles, and lightly wipe the fan’s motor cover and hardware.
Expert Advice for Fan Maintenance
According to environmental health and appliance experts, accumulated dust can harbor allergens, bacteria, and even mold in humid settings. Experts recommend placing fans away from windows or high-traffic areas to minimize dust intake. When storing fans for the season, clean and cover them to reduce dust buildup. Regular maintenance not only supports healthy air quality but also extends the efficiency and operational life of your fan.
The Role of Indoor Air Quality
Fans contribute significantly to indoor air movement, but in poorly ventilated rooms, circulating dust can negatively affect air quality. The Environmental Protection Agency (EPA) and other health organizations underscore the importance of routine cleaning for all household appliances that interact with air flow. Proper cleaning of fans, air conditioners, and air purifiers reduces health risks and supports overall wellbeing.
When to Consider Professional Cleaning or Replacement
If your fan is making unusual noises, rattling, or if dust has infiltrated the motor to the point that cleaning is ineffective, it may be time to seek help from an appliance professional or consider replacing the unit. While most fans are designed for ease of cleaning, some models may have components that require specialized care.
Preventing Future Dust Buildup
Adopting a few simple strategies can help reduce how frequently you need to clean your fan:
- Keep windows closed on windy days to minimize airborne dust indoors.
- Use air purifiers and maintain proper ventilation.
- Clean surrounding surfaces regularly to prevent dust from settling on the fan.
- Store unused fans in protective covers or sealed spaces.
Conclusion: Clean Fans for Healthier Homes
Keeping your fan clean is an important but easy-to-overlook task that can improve your comfort, protect your appliance, and contribute to cleaner air inside your home. With regular maintenance using the steps outlined above, you’ll enjoy the benefits of efficient airflow and reduced exposure to dust, allergens, and irritants. Always follow manufacturer guidelines for your specific fan model, and prioritize safety in every step of the cleaning process.
Sources
- U.S. Environmental Protection Agency (EPA): Indoor Air Quality
- Centers for Disease Control and Prevention (CDC): Healthy Homes
- Real Simple: How to Clean Every Type of Fan
- Better Homes & Gardens: How to Clean Fan Blades
Disclaimer: This content is intended for entertainment purposes only and is not based on real events.